Most building disputes can be traced to an absence of documentation at a critical point in the construction process — a payment claimed for work that the homeowner says was incomplete, a defect that the builder says was not present at the relevant stage, or a dispute about what was agreed. Systematic stage-by-stage documentation protects you in all of these scenarios.
Why stage documentation matters beyond compliance
A building certifier (private certifier or council inspector) conducts mandatory stage inspections to certify compliance with the NCC and Building Code of Australia. But their inspection certificate confirms minimum compliance — it does not protect you against a homeowner’s claim that you were paid for work not yet complete, or that a defect visible after a later stage was present earlier.
Your own stage documentation serves a different purpose:
- Payment evidence — a photographic record taken on the day you submit your stage payment claim demonstrates the stage was complete at that time
- Defect baseline — photos at each stage establish the condition of work before subsequent trades work over it; this is critical when a homeowner claims a defect in concealed work
- Quality demonstration — customers who receive regular photographic updates of their build in progress have a significantly better experience and are more forgiving of minor issues
- Legal evidence — in any QBCC investigation, NCAT or VCAT proceeding, a contemporaneous photographic record of each stage carries significant evidentiary weight
What to photograph at each stage
Slab stage
- All slab edges from multiple angles showing the full perimeter
- Reinforcement visible at slab edges and penetrations
- Drainage positions as poured
- Termite barrier installation and certification
- Slab surface condition before any backfill
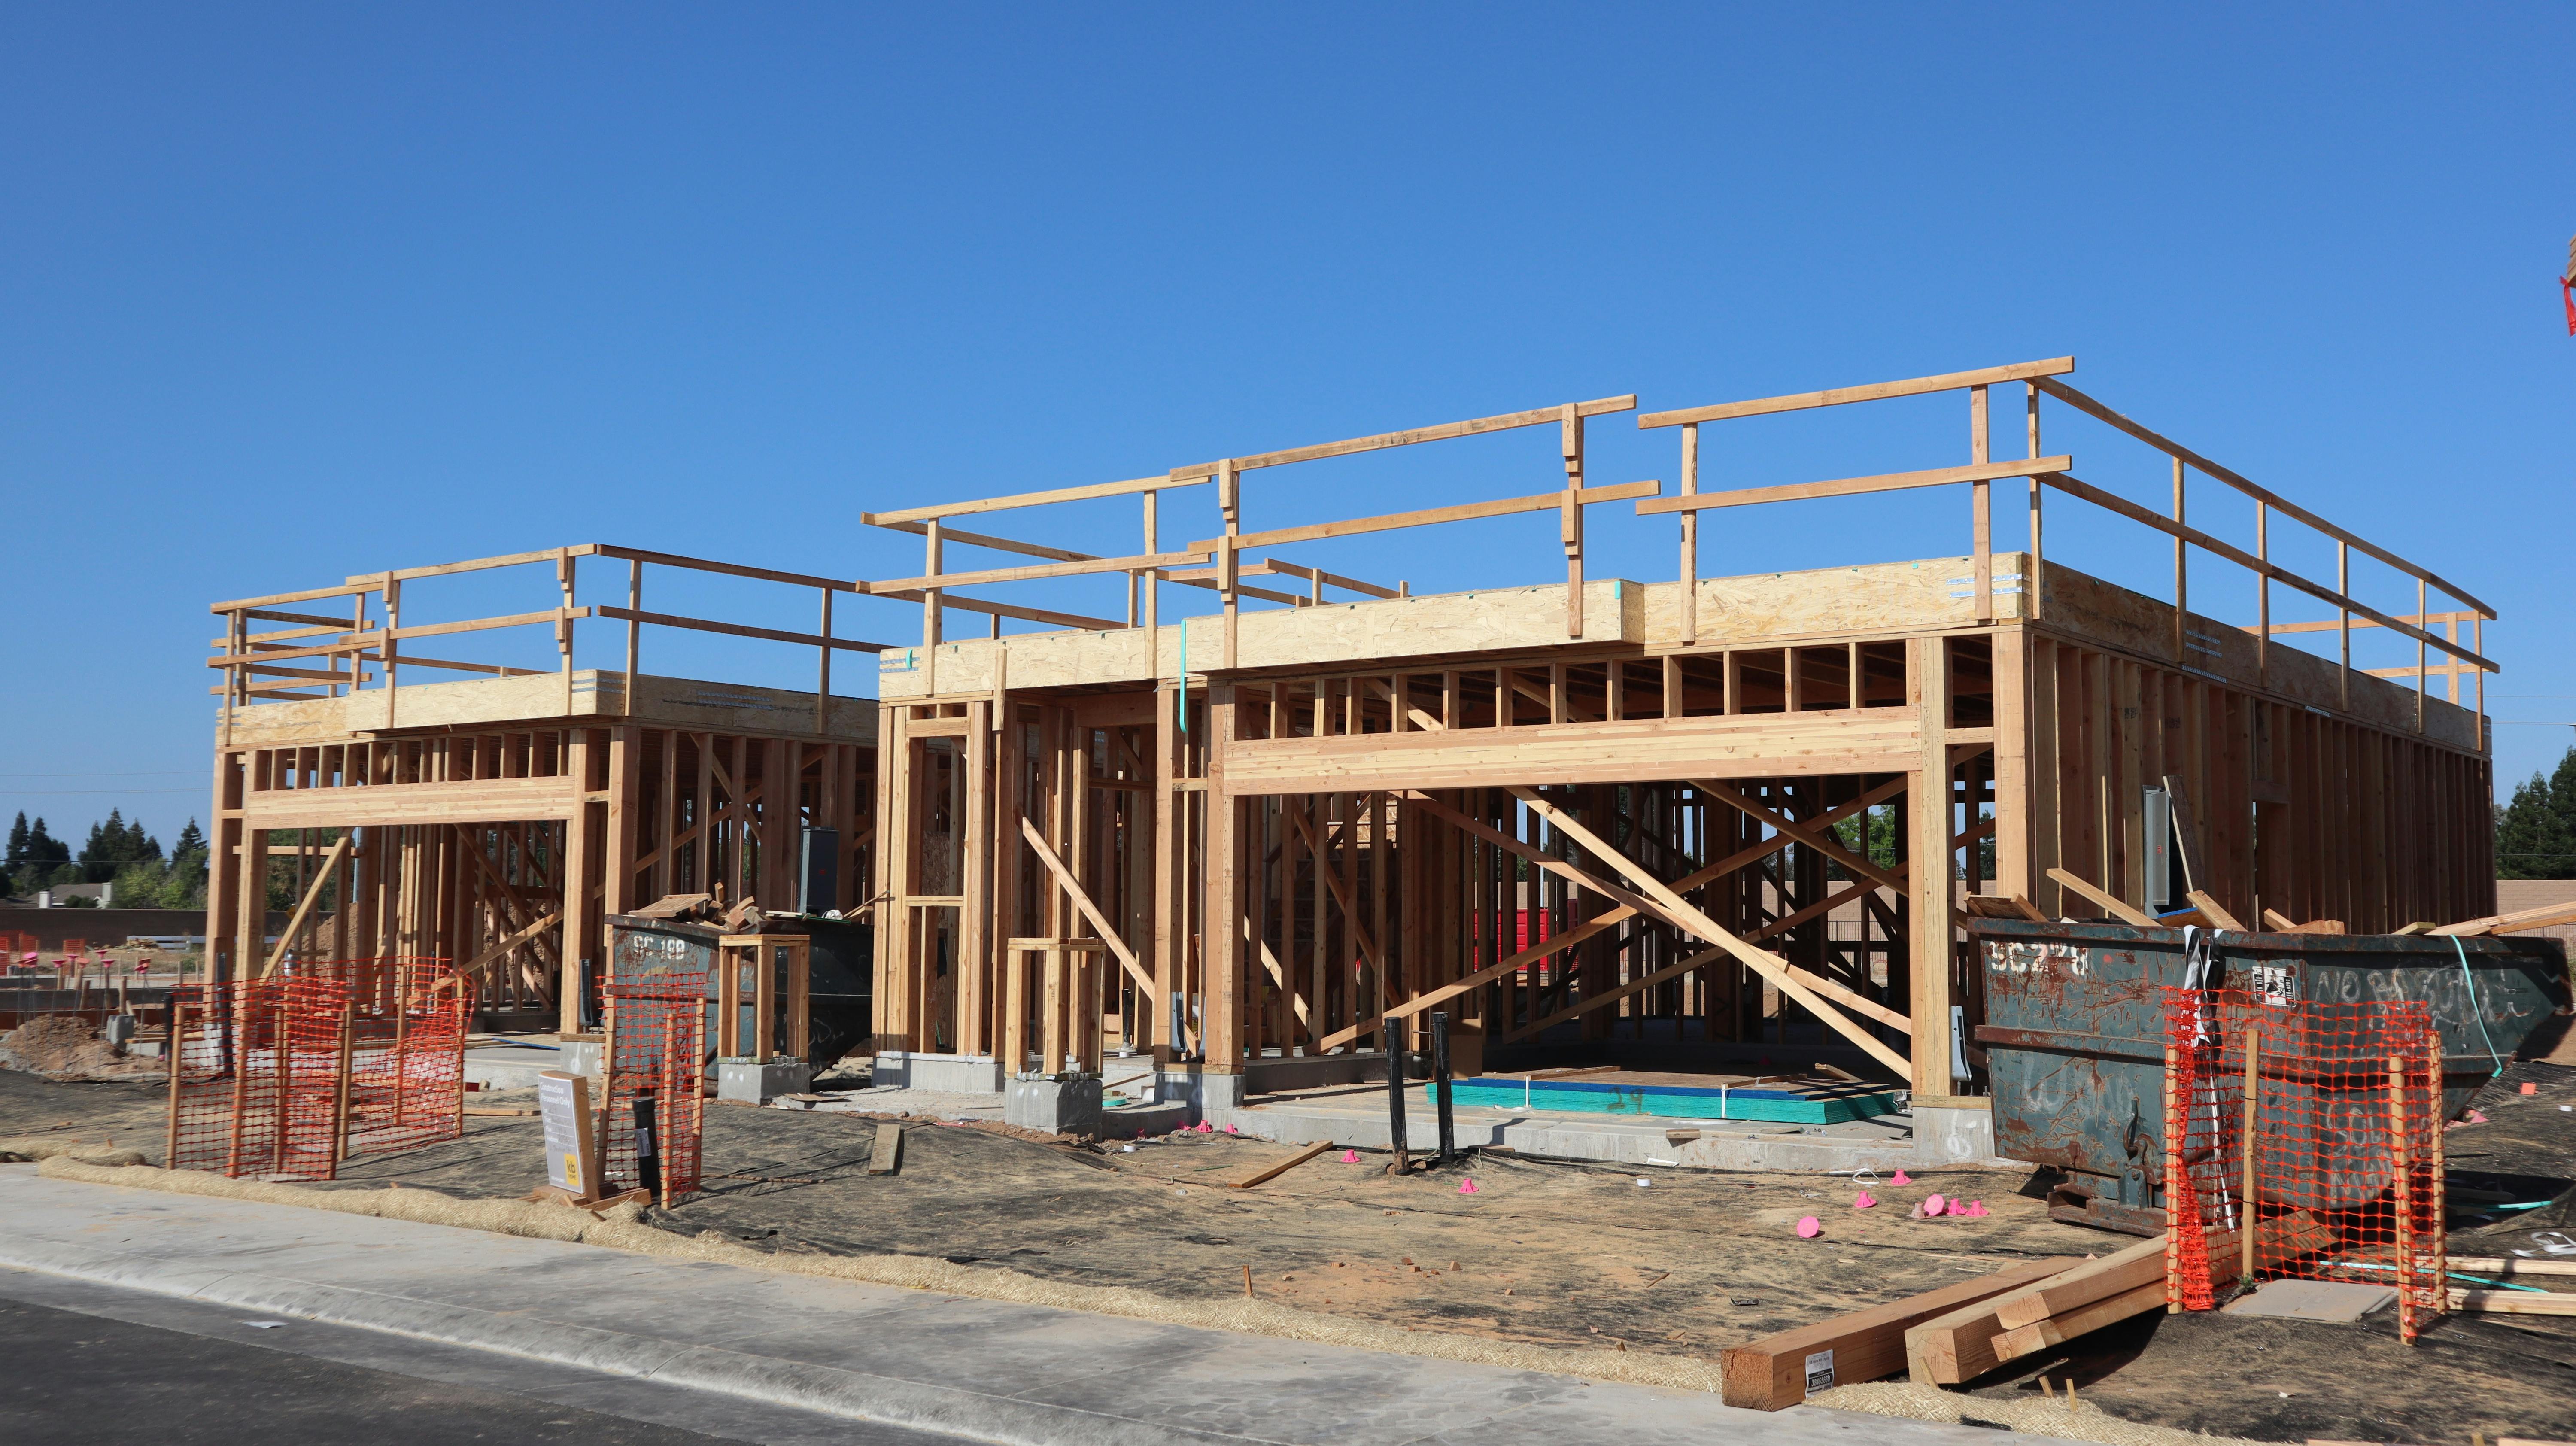
Frame stage
- Every wall frame panel from inside the building
- Roof truss installation from multiple angles showing all truss connections
- Bracing installation showing each brace, its position, and fixings
- All lintel positions and visible lintel sizes
- Any penetrations (stairwell openings, large window openings)
- Insulation installation showing coverage in all wall and ceiling areas
This is the most important stage for documentation — almost all work done at frame stage is permanently concealed. A photo of insulation correctly installed is far more persuasive to a tribunal than a claim that it was done correctly.
Lock-up stage
- Completed external cladding on all elevations
- Roof from above if accessible (or from ground showing all elevations)
- All flashings — window and door heads, roof penetrations, valley gutters
- All windows and doors in place
- Waterproofing in all wet areas (before tiling)
- Hydraulic and electrical rough-in positions
For waterproofing in particular: if you have a waterproofing compliance certificate, photograph the certificate alongside the actual waterproofing work it covers. This creates an unambiguous record.
Fixing stage
- Completed tiling in every room (floor and walls)
- Plastered and set walls before painting in each room
- All cabinetry installed
- All fixtures and fittings fitted
- Completed painting in each room
- All floor surfaces before final clean
Practical completion
- Comprehensive photography as described in the handover documentation guide — every room, every surface, all externals
How to organise your stage photos
Organisation is as important as taking the photos. A folder of 200 unnamed JPEGs is of limited use. A structured file system serves you when you need evidence quickly.
Recommended structure:
[Project Name]
  → Stage 01 - Slab [Date]
  → Stage 02 - Frame [Date]
  → Stage 03 - Lock-up [Date]
  → Stage 04 - Fixing [Date]
  → Stage 05 - Practical Completion [Date]
  → Inspections [Sub-folder per inspection]
  → Variations [Documented with photos]
Within each stage folder, label photos by area:
Slab_South_Elevation_1.jpgFrame_West_Wall_Bracing_Panel_1.jpg
This takes additional time but is invaluable when you need to find a specific photo quickly under pressure.
Submitting stage claims with documentation
When you submit a stage payment claim to the homeowner, attach a summary report showing:
- The claim amount and stage
- Key photographs confirming stage completion
- The certifier’s stage inspection certificate (where applicable)
This approach does three things. First, it demonstrates professionalism. Second, it reduces payment disputes because the homeowner has visual evidence that the stage is complete. Third, it creates a documented record of what was complete at the time of the claim.
Homeowners who receive professional progress reports throughout their build are far more likely to release payments promptly and far less likely to escalate minor disputes.
Handling homeowner-commissioned inspections
Homeowners have the right to commission independent building inspectors at each stage. Welcome this rather than resisting it — a builder who accommodates independent inspections demonstrates confidence in their work quality.
If an independent inspector identifies an issue:
- Respond in writing to each finding
- If you dispute a finding, reference the applicable standard (NCC, AS 1684, etc.)
- If you accept a finding, rectify before the stage payment is released
- Document your response and any rectification work
An inspector’s report that was raised during the build and professionally addressed is not a problem — it is evidence of a quality management process. Ignored findings that reappear at tribunal are a significant liability.
Key Takeaways
- The building certifier’s inspection confirms NCC compliance, not payment entitlement or defect absence — your own stage documentation serves these additional purposes
- Frame stage documentation is most critical because all structural, insulation, and framing work is permanently concealed by wall linings and cannot be re-inspected without destructive investigation
- Organise photos systematically by stage and area with descriptive names so you can retrieve specific evidence quickly in a dispute
- Submit stage payment claims with key photographs confirming completion — this reduces payment disputes and demonstrates professionalism
- Welcome homeowner-commissioned independent inspections; respond to findings in writing and document your response; an addressed finding is a positive sign of quality management
- A comprehensive stage-by-stage photographic record is your most valuable asset in any QBCC investigation or tribunal proceeding
Free to download
Stop losing track of defects.
Checka helps you capture issues, stay organised, and arrive at handover with a complete record of your build.